Thursday, 26 February 2015

Terrific Tonic cards


Terrific Tonic cards
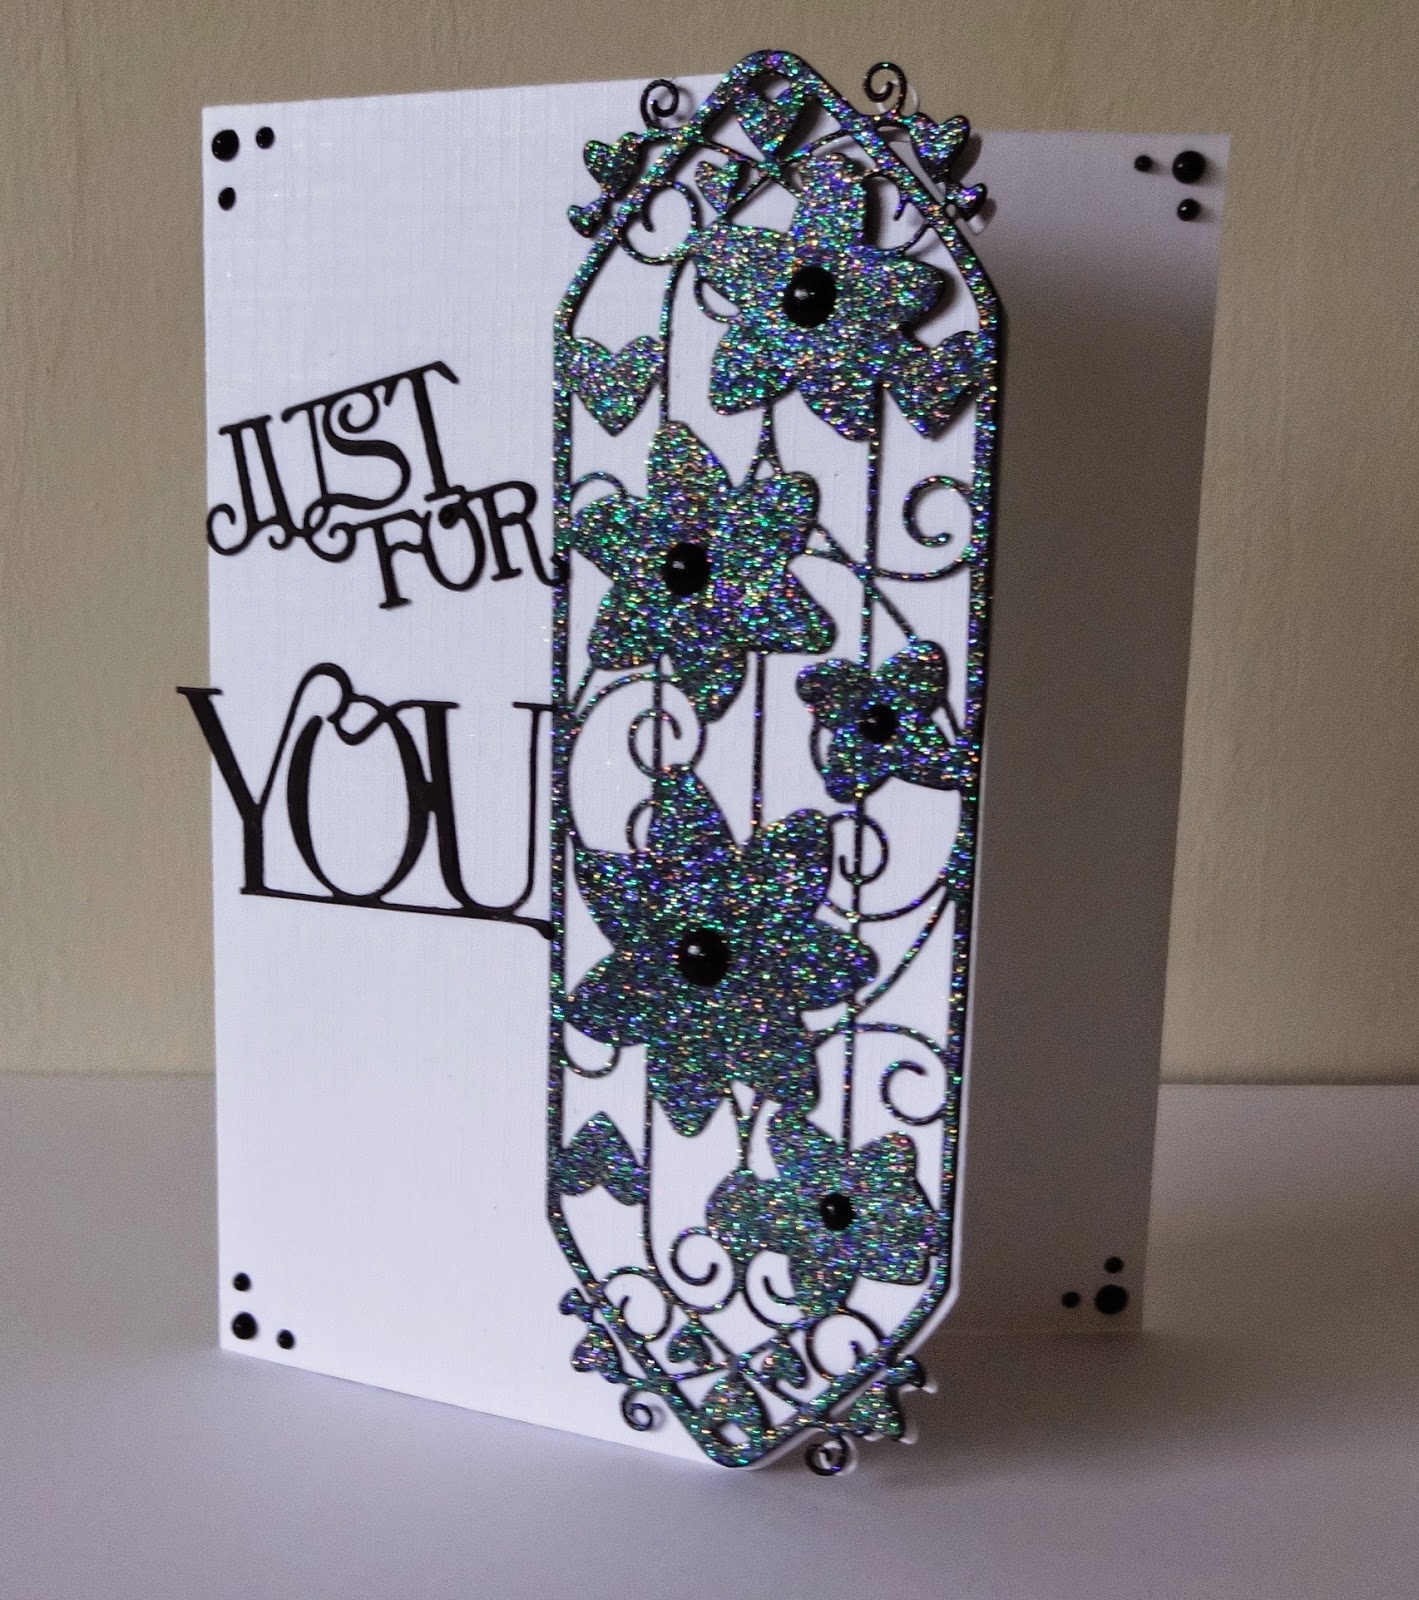
The new trellis flower dies are so versatile. You can leave the top and bottom edges in to make different shaped cards or leave them in the card or they can be apertures or cut the whole of the die and mat and layer onto a card. The list is endless and they always make interesting professional cards.
The box of 3d flowers I'm going to use the on a canvas, I just need to get the paints n pastes out and start creating.

Tonic materials used:
Dies - Entwining Trellis Die Set – Plush Peony, Radient Roselily, Bellus Buttercup, Delicate Daisy.
Just For You Pansy Topper Die Set
Royal Fern Die Set
Sending a big hug semi die set

Nuvo crystal drops - raspberry pink, wisteria purple, Neptune, wedgewood blue.

Wednesday, 18 February 2015

Pansy Flower Pendants and Paper Flowers


My inspiration came from Doda (heres her blog) who is with the Tonic Studios design team. She uses shrink plastic with the Tonic dies.
·         I used the From Me to You Topper Die Inner Set It has the pansy flower shape.
·         I cut 2 shapes with opaque shrink plastic.
·         Stamped designs using the new.
·         Added orange to the edges of 1 of the flowers and dots. Because I was using the dull side of the plastic the dots spread which I didn't realise this would happen but it looked ok.
·         Punched a hole in the blue and orange flower with a paper punch.
·         Heated.
·         Flattened 1 of them with an acrylic block and shaped the other 1 by putting on a wade of kitchen towel and using the handle of my poky tool to shape. These are the only things I had to hand but you can use anything as long as it can withstand heat.
·         The glitter didn't show up on the shiny side so quickly re-heated and moulded the other way.
·         Added cord and ribbon.
·         With the grey swirl flower I added crystal drops and a little bit of glitter to the centre.
·         Glued a pendant bail to the back and snake chain.

Paper flowers using the die.
I cut a few flowers so I had plenty to play around with.

Rose
·         Firstly Cut a petal out (a V shape to the centre of the flower) and glue the next petals together to form dimension.
·         Secondly I cut 2 petals out and glued the next petals together.
·         With the pieces left over I formed more petals.
·         Shaped and glued together.

Pansy
·         I cut into the petals more so they were easier to mould and shape.
·         Glued together.

·         Added glue to the edges of the petals and sprinkled with glitter. I used a thin card to do these but it would have been easier to mould them if it had been paper.

Materials used;
Shrink plastic
Tonic Studios-From Me to You Topper Die Inner Set
Crafters Companion-Texture stamps
Stazon ink-grey,teal.
Wink of Stella-orange.


Saturday, 14 February 2015

Silk Bracelet


I got the idea from MJ from Dandie crafts this is the link to her Blog.
In my crafting stash I have loads of small squares of silk, cottons etc taken from various material sample files.
They come with a frame of paper stuck to the back explaining colour etc.
·         Firstly I positioned the buckle die edge as close as to the edge of the silk so the base would have the paper backing as this makes cutting much easier and neater so as to avoid any fraying.
·         I painted a thin layer of Mod Podge on the front of the silk buckle base. I noticed a little bit of fraying as I had cut slightly off the paper backing! So what do you think I did next? You've guessed it, I pulled at the tiny piece of fraying silk and it ran all way up the buckle so making it look messy!!!
·         I decided to experiment on the silk that was left. I brushed on a thin layer of Mod Podge left it to dry then cut another base.
·         It worked. So with the piece of purple silk I brushed on Mod Podge and cut the decorative part of the buckle. It cut really cleanly except for the odd piece of thread being still attached which I cut with Decopatch scissors.
·         I stuck the two pieces together and also a coat off Podge on top to seal.
·         I tried it around my small wrist and the decorative part of the silk wasn't that visible because at the back of my wrist. I needed decoration on the oval part.
·         Thinking cap on!
·         I cut the butterfly on a piece of silk coated with Podge.
·         It did cut but it needed colour to define the butterfly from the flowers. I coloured it with alcohol pens but I didn't like it.
·         So I cut another one out of thick white card, coloured with glitter pens.
·         Sprayed with a gloss varnish so the colour wouldn't run when I stuck it to the bracelet with Podge.
·         Finally added another coat of Podge.
·         Glued a small square of Velcro to the ends of the bracelet as my clasp.

A little stiff but does fit around my wrist.
Not sure how durable it is but I love it and I can always make another one.

Materials used;
Tonic studios - buckle die and rococo mariposa petals die
Wink of Stella glitter brush pens - purple, black, pink.
Mod Podge - matt
Silk samples.

Thursday, 12 February 2015

Coffee n Tea Jars


Firstly drink copious amounts of coffee to empty the jars!!!!
·         Using a small flat paint brush I freehanded a wavy line about a third from the bottom and brushed on Mod Podge fairly thickly due to the fact that the glitter is tinsel.
·         Once I was satisfied with the coverage of glue I sprinkled on the green tinsel. It only took about 1 hour to fully dry. Once dry I brushed of any loose tinsel with a soft make-up brush. I thought that the tinsel would need 2 coats but I liked the look of one coat.
·         I applied glue to the rest of the jar using a wavy line to finish at the top.
·         Sprinkled on purple tinsel. Left to dry and brushed off excess tinsel.
·         Originally I was going to leave it like that but I decided it would look better and complete with glitter Mod Podge. It needed 2 coats.
·         With white linen card Cut 2 labels with the buckle die from tonic.
·         Applied glue to the band of the label and sprinkled crystal glitter, left to dry.
·         Using scraps of black pearlescent paper cut letters. Glued them to the centre of the oval on the buckle die.
·         The oval needed something on it so painted on glitter Mod Podge. It looked the same as the crystal glitter!!! So could have saved time by just using Mod Podge! Oh well, I know for next time.
I need to buy some Mod Podge Dishwasher so that I can wash them in the sink. It takes a while to cure but I think it will be worth the wait as I don’t want to ruin them by washing them.

Materials used;
Martha Stewart Tinsel Glitter
Tonic Studios Verso Strip Die Set - Beautiful Buckle
Tattered lace alphabet die taken from the front of their magazine
My craft studio crystal glitter

Mod Podge Glue - matt, glitter

Wednesday, 4 February 2015

Tonic Trellis Oval shape card


This was shown on create n craft along with my MDF shelves. I hadn't sprayed it with the pink glitter spray at the time of it being shown.
·         Firstly I cut the outer most die of the trellis oval dies. this was going to be the back of my card
·         I then cut the largest trellis die this being the base to the front of my card.
·         I wanted a sentiment die so I looked through my selection of dies and realised that the dragonfly fitted in the centre of the trellis. So I also cut this with black card.
·         High-lighted the wings with viva décor and used viva décor pearl pen to apply 3D dots to the body of the dragonfly.
·         To make the card strand up I cut a little bit off the bottom of the back of the card.
·         It looked ok but realising that not many people would go for a full black card I decided to spray it with pink glitter varnish.
·         The glitter is really fine. I think it looks more pearlescent but I just love the finish the spray gives.
·         The glitter has gone through the holes of the trellis giving a design to the inside of the card. All I need to do now is cut some white paper with the smaller die so you can write on the card.
I'm still unsure that people would like to receive a black card. Tell me what you think I would be grateful of your comments.

Materials used
Tonic studios - Deco oval trellis and dragonfly delights dies
Crafters companion - Black card, pink glitter spray (special edition), Cut n Boss
Viva Décor - gloss gel pen, Inka Gold


Tonic studio trellis MDF shelves and drawers


OMG what a journey it has been to get this posted on my blog! I started to write up this blog post when my laptop decided to crash!! Not wanted to pay out money to mend it (January is always a tough month) I set about reading up on the Dell website on my I Pad what to do when a laptop crashes obviously there is a number of problems that could have caused it. I am not technically minded, I don’t understand all the jargon so I find it really stressful, just give me a paint brush or paper and I'm happy and stress free but I was determined to sort it. To cut a long story short it's took me a week to sort it out!!! Must get crafting now to de-stress.

Tonic studio trellis MDF shelves and drawers

  • ·         Firstly I put the MDF pieces together, it was easy enough.
  • ·         I painted it white, decided that I didn't want white as I wanted to use viva décor and it would show up better on black!
  • ·         Next day I distressed it with green paint; I didn't like that so I used pearlescent black. It looked more like how I wanted it to.
  • ·         Cut trellis circle die in all the 3 different sizes in thick card, I was going to stick some onto the mdf but there wasn’t room in the end!!
  • ·         Cut 3 sizes in funky form and stuck them on acetate, when sprayed with repositionable adhesive it can be put on an acrylic block so that I can stamp with it.
  • ·         The other card shapes I used as stencils.
  • ·         I also cut some leaves in funky form and stamped them with green paint on the back of the MDF shelves.
  • ·         Stencilled the middle sized die cut with Viva Décor Ferro and Viva Décor glitter paste. For the smaller flower used paint as I wanted them to all have different textures.
  • ·         Stencilled the large and medium die cuts on the side of the MDF with the viva décor.
  • ·         Stamped over stencils with pearlescent paint, was pretty difficult cos when applying paint with a sponge it not only went on the funky form but also the acetate so I couldn’t see clearly where I was stamping! Luckily when I stamped in totally the wrong place I could wipe the paint off with a damp cloth.
  • ·         Cut the new trellis oval die with black card, applied viva décor Inka gold.
  • ·         Embossed black card. Applied green paint mixed with pearlescent paint and used scrub it pad to apply the paint.
  • ·         Cut to the sizes I wanted, applied pearl dots.
  • ·         On the top shelve I lost a piece of embossed card cut to the curve of the MDF so after looking everywhere I left it till the next day and still couldn’t find it. To this day it hasn’t turned up so I must have used it for the other pieces but I'm so sure I didnt lol. I'm sure you crafters out there have had this happen to you, it is sooooo maddening when all you want to do is make something!!
  • ·         Reluctantly cutting another piece of embossed card i stuck to the MDF then i had to apply the pearl dots and you may have guest what im going to say next because I picked up the shelves to dry i smudged 2 of the pearls so I popped a bit more on top of the smudged ones hoping it would dry ok. Luckily it did!! I can't believe how easy the pearl pens are to use. I would recommend them to anyone who has struggled with applying glue pearl dots. It is easy to squeeze and forms a blob straight away and also rectifies any mistakes, make sure before you start is to shake the pens contents to the nib as this helps eliminate any air bubbles.
  • ·         I cut 3 centres from the square decor trellis die in black card and applied viva décor. The brass handles didn’t show up so applied viva décor. The handles are stuck on with blue tack at the moment because I need to order the tonic studios handles.
  • ·         To protect the paint etc I applied Mod Podge matt all over. Also on the shelves I applied Mod Podge glitter.
  • ·         The photos don’t really show the pearlesence of the black and the shine of the viva décor and the Mod Podge glitter.


I really enjoyed putting together this design as I want something to show off my little glass shaker light bulbs. They are so cute and the Martha Stewart glitter looks amazing. Will fill the others with my favourite emporium embellishments that are too nice to use lol.

Last week 26/1/15 I sent in photos of this project to Create n Craft when Jodie from tonic was demonstrating and Dawn Bibby was presenting. It wasn’t quite done but I wanted to show what different things I had done with the dies. I didn't expect it to be shown as I've sent in emails before but it was and I felt so proud, it really gave me a confidence boost.

Materials used
MDF craft rack and drawers - Stamps Away (Clever Cut) www.clevercut.co.uk
Tonic studios - Deco oval and square trellis base dies. Royal fern dies.
Tattered Lace - embossing folder
Crafters companion - Black card, Cut n Boss
Viva Décor - paper pen, Inka Gold, Ferro.
Mod Podge - matt, glitter.
Paint - metallic granite, pearlizing medium, lettuce acrylic paint dabber.
Gesso - white, black.