For a long time now I have been a big fan and still am a fan of the Paperartsy blog and many times I have thought I would have a go but didn't feel I was good enough to join in! But this challenge really appealed to me so I ‘bit the bullet’ and I've had a go.
The box was a ‘Gentleman’s stationary box’! it was empty when I acquired it so I can’t tell you what was in it but I image writing paper in a ‘posh’ box! It didn't need any sanding so I could start to work on it straight away (I hate sanding, lol).
• Firstly I embossed some Kraft card and cut it to size and distressed the edges with scissors.
• I decided I would work straight onto the lid so I masked off the area where it would slide in the box.
• I tried the do the technique ‘Creating wood grain with grunge paste’ by
Lou Collins but it didn't work! I dried the top of the paste but not enough for the result so n so got but I liked the result so went with it.
• I stamped into the paste and made sure I washed my stamp straight away.
• Once fully dry I stamped on top of the paste.
• I then used my stencils with the paste on the lid and the sides, I didn't mix colour with it but once it was dry watered down the paints and lightly brushed over the white paste.
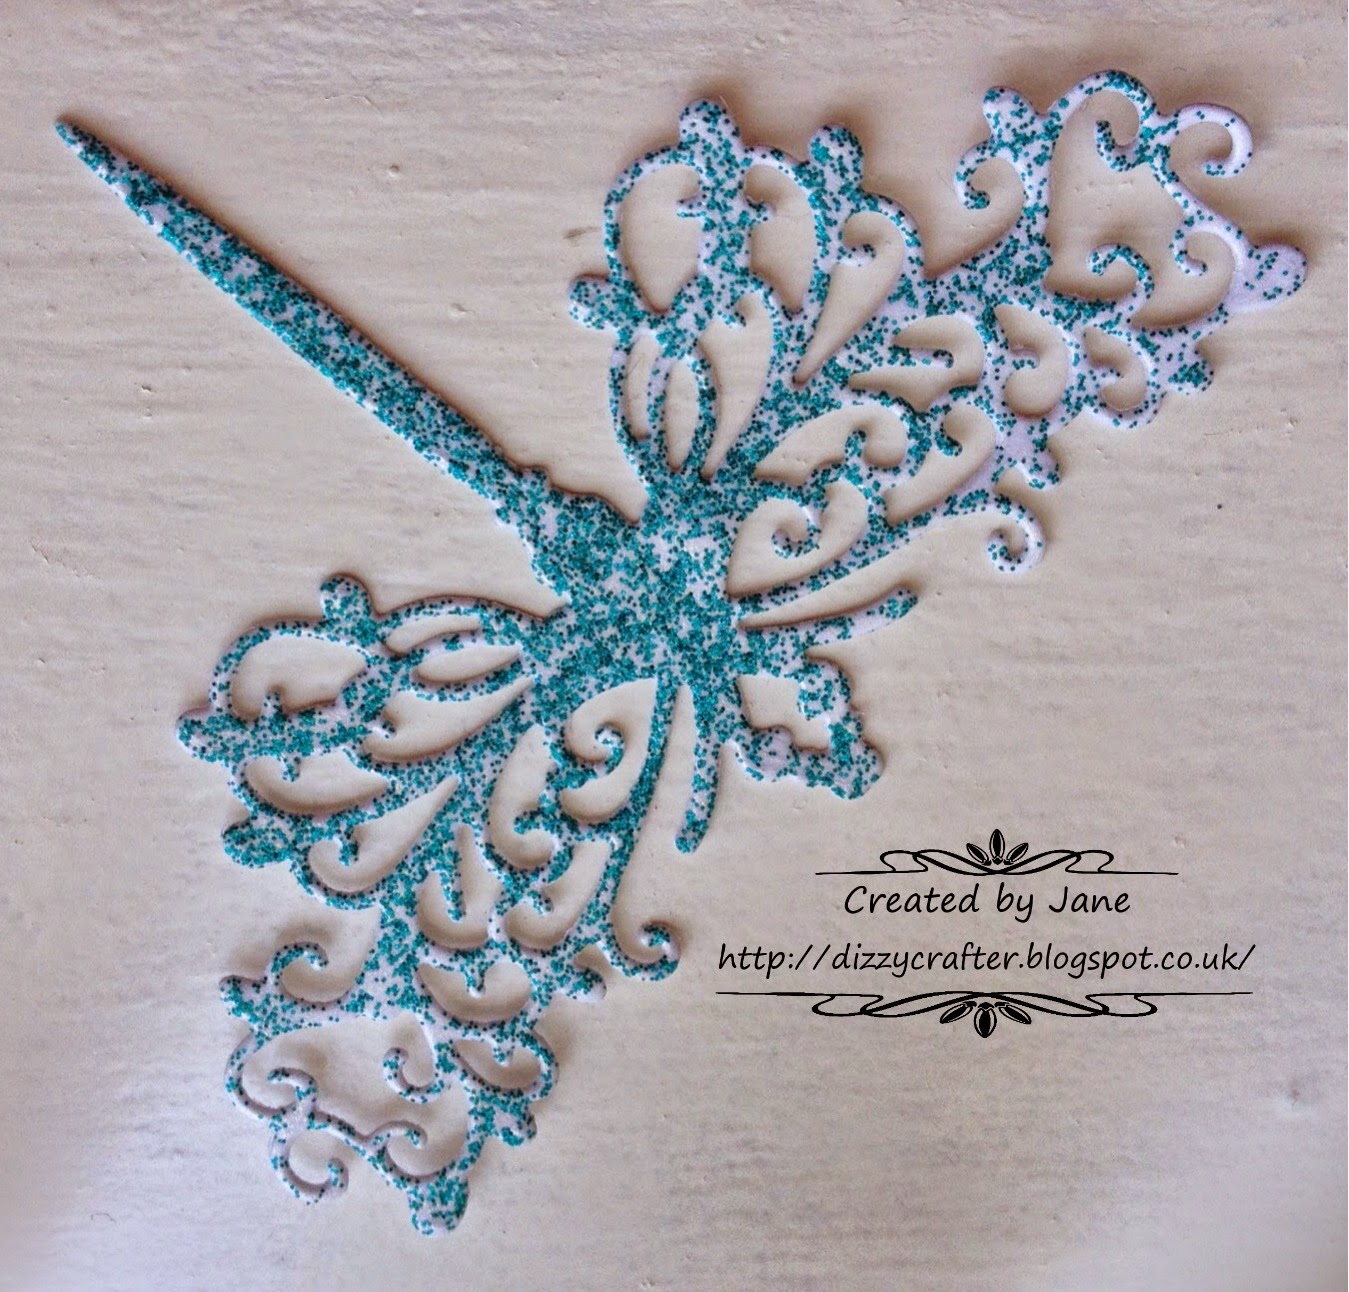
• Stamped dragonflies with grey ink on Kraft card.Coloured the wings with Wink of Stella pens. Cut out. Used wire for the antennae and tails.
• Cut flowers and dry brushed with paint.
• Rubbed the gilding wax on all the edges of the box. I did it with my fingers and it made them really sore lol. Also edged the dragonflies and flowers too.
• Painted the clay flower and highlighted with the wax. Stuck it on the lid so that there was something to get hold of when opening the box.
Im really pleased with the end result and enjoyed using the grunge paste as it is so easy to use. Ive a feeling now that everything is going to get grunged lol.
Materials used-
Paperartsy Grunge Paste
Stamps – Paperartsy Squiggly Ink – Tops and Tails, Tim Holtz – Ultimate Grunge Backgrounds
Stencils – Crafters Workshop – Well rounded, my own design cut on the Silhouette Cameo
Paint – Indigoblu Wimberry Pie, Park Lane, Townhouse Teal
Tonic Studios – Flower Deco Trellis dies
Stazon – Teal, Stone Gray
Pebeo – Silver Guilding Wax
Crafters Companion Textures embossing folder
From my stash-
writing set box
Kraft card
Air dry clay rose
Wire
Challenge entered;


