Saturday, 4 July 2015

Paperarsty Challenge 2015 - Stencils


 I couldn’t wait to get stuck into this challenge. I have bought 2 canvases {not proper canvas but more of a nylon texture!} from a car boot a few weeks ago and itching to decorate them. The inspiration that got my creative cogs turning  for my design  was the 1st post of the challenge and the 2nd video by Leandra Grunge Paste 106 Stencil Stamping  link.
Firstly, Because the canvas was a nylon texture I applied Mod Podge matt so that the paint had a key.
Applied Next paint for the base colour.
Applied Fresco paints with a brayer. This is the 1st time I have ever used the brayer and I absolutely love the effect it gives with the paints.

Applied grunge paste through stencils. The paint and pastes dried really quickly because of the very hot weather!

Stamped on the canvas using paint.
Used a stencil with paint in various areas and layering over the grunge paste.

Cut flowers and butterflies, applied rusting powder (I’m so loving this technique, it really does look like rust!), you have to spray white vinegar over the powder so my house smelt like a chippy!! I left it over night to take effect. The next morning I scrunched then and only a tiny bit of rust fell off! I wasn’t sure if it would adhere to the wax paper. The leaves I left plain. Stuck them on the canvas with Pinflare gel.
Coloured twine with paint. Stuck to the canvas with Mod Podge.
Filled in areas with stamp and ink.
Finished.

I love all the layers and textures, it’s a touchy feely design!

Materials used;
Paperartsy Fresco Paints – Tango, Beach Hut, Spanish Mulberry, Yellow Submarine.
Paperartsy Stamps – Ink and the Dog HP1006.
Paperartsy Die – flower and leaf.
Paperartsy Grunge Paste.
Paperartsy wax paper.
Tonic Studios – butterfly and stamp dies. Glitter.
Stencils – Clarity, Crafters Companion, Dina Wakely.
Viva Décor – glitter paste.
Crafty Notions - Rusting powder.
Stampendous Frantage Mica
Stazon Ink – Teal.
Pinflare 3D gel.

From my stash;
Canvas from car boot {cheap n nasty nylon canvas!}.
Mod Podge – matt.
Brayer.
Twine.
Next Matt Emulsion.

Challenge entered;
  Paperartsy.co.uk - Stencils


Wednesday, 3 June 2015

Paperartsy - Bottles


Paperartsy – Bottles
When I saw this challenge my 1st thought was to decorate some bottles that me and my friend have been collecting. I am teaching her different things to do! So this challenge has given me loads of ideas and I can show or ask her to look at the wonderful makes by the design team and fellow challenge entries as inspiration!
It was Anneka’s (blog) challenge post  that I wanted to try. Im new to fresco paints so I’m delighted that I can use them on glass.
Firstly I washed the bottles so that there was no grease on the glass.
I sponged on the paint with a washing up sponge!
I really light the ombre look so I thought I would give it a go.
The 1st layer covered and blended really well.
The 2nd coat didn’t really cover as well and the reason being is I should have waited longer for the 1st coat to thoroughly dry!! Lesson to self – take notice of what Anneka says in her post, lol.
The 3rd coat was successful only the yellow seemed patchy when the sun shone on them.


I love the matt finish of the paints but to finish them I applied mod podge glitter which takes the eye away from the few patchy areas.
I think next time I will firstly apply a layer of gesso or matt medium.
I used cord and beads to decorate.
This is so easy to do. I have more bottles and jars to decorate but I will be using up some of my old paints then I have an excuse to buy more fresco paints, lol.

Materials used;
Paperartsy Fresco acrylics – Tango, Yellow Submarine.
Mod Podge – glitter.
My stash;
Bottles. 
Sponge.
Cord.
Beads.

Challenge entered;


Saturday, 23 May 2015

Paperarsty WORDS


I couldn’t wait to do this challenge as I had got my 1st lot (5 bottles) of fresco paints. I say 1st lot because I absolutely love them and will definitely be buying more colours. I ask myself why has it took me soooo long to get these paints? The answer being is I have absolutely loads of acrylic etc paints and why do I need more! I’m using the excuse now that my great nephews need my old paints!!!
One of the 1st blog postings by Alison Hall (blog paperartsy) inspired me to design something that included stamping on tissue and the stars she had stamped gave me the idea of die cutting butterflies from a book!
I wanted to try a few different techniques for this challenge. I look at the Paperartsy blog everyday (it is sent to my emails) and it is so inspiring. The only problem I have had is my crafting mojo has been on holiday for a few days! So what I did was a little each day. Taking photos so I could remember what I did, lol.

Firstly I painted on white card using orchid, Spanish mulberry, yellow submarine and tango,blending the colours in the middle.

I also bought the crackle medium so I read the instructions and applied it with a spatular. As you can see one half has a few cracks but the other half hasn’t! I think what I did wrong was I applied it but must have scrapped too much off. I need to practice.
With the stencils I used  cut and dry to apply my paints. Orchid first, then with the other colours I watered them down so that I didn’t totally cover the cracks.


Once dry I stamped through the stencil.


I dried the ink with my heat tool then positioned the stencils over the paint and used a white pen to outline.
Stamped on tissue, ripped it and then stuck it to the design with mod podge.


Die cut the butterflies and coloured with paint and stuck them on with mod podge.
Once everything was dry I applied a final coat of mod podge just to make sure nothing was going to start peeling away from the design.
I finished with matting on to kraft card.

I really enjoyed this challenge and trying new techniques. I really liked how I didn’t have to do everything in one go and able to wait for the old crafting mojo to return.

Materials used;
Paperartsy Fresco paints – orchid, yellow submarine, tango, Spanish mulberry, beach hut.
Paperartsy Crackle Medium.
Archival Ink – black
Clarity stencils – flower power, Jo’s bubbles.
Indigoblu stamps – Sarah’s choice.
Tonic Studios – butterfly and stamp die sets.

From my stash;
White and Kraft card.
Tissue. 
White gel pen.

Challenge entered; 


Saturday, 25 April 2015

Experimenting with Tonic Nuvo glitter

I used Smooth card, Centura Pearl card and American Crafts 12x12 paper.
Modge Podge gloss and Tonic glitter. 


Smooth card 
Centura pearl 
Kanban printed paper and stencil (create n craft members gift).
Brushed on glue n glitter.
Not too bad, seepage under the mask a little but a flower or butterfly can cover that up. 
I didn't clean palette and added glue.
With brush dabbed glue over the mask. 
Lot of seepage under mask!!! 
Sprinkled glitter over the glue and basically looks a right mess lol. Probably won't go to waste because i can use a glue pen to add more contrasting glitter. If it still looks a mess I will have to bin it! Its only paper and hardly any glue n glitter used. 

This is how the papers looked when dried. They didn't take long to dry but with using the gloss glue they still look wet! 

Now let's try die cutting them. 
American Crafts

Centura Pearl card 


  Smooth card
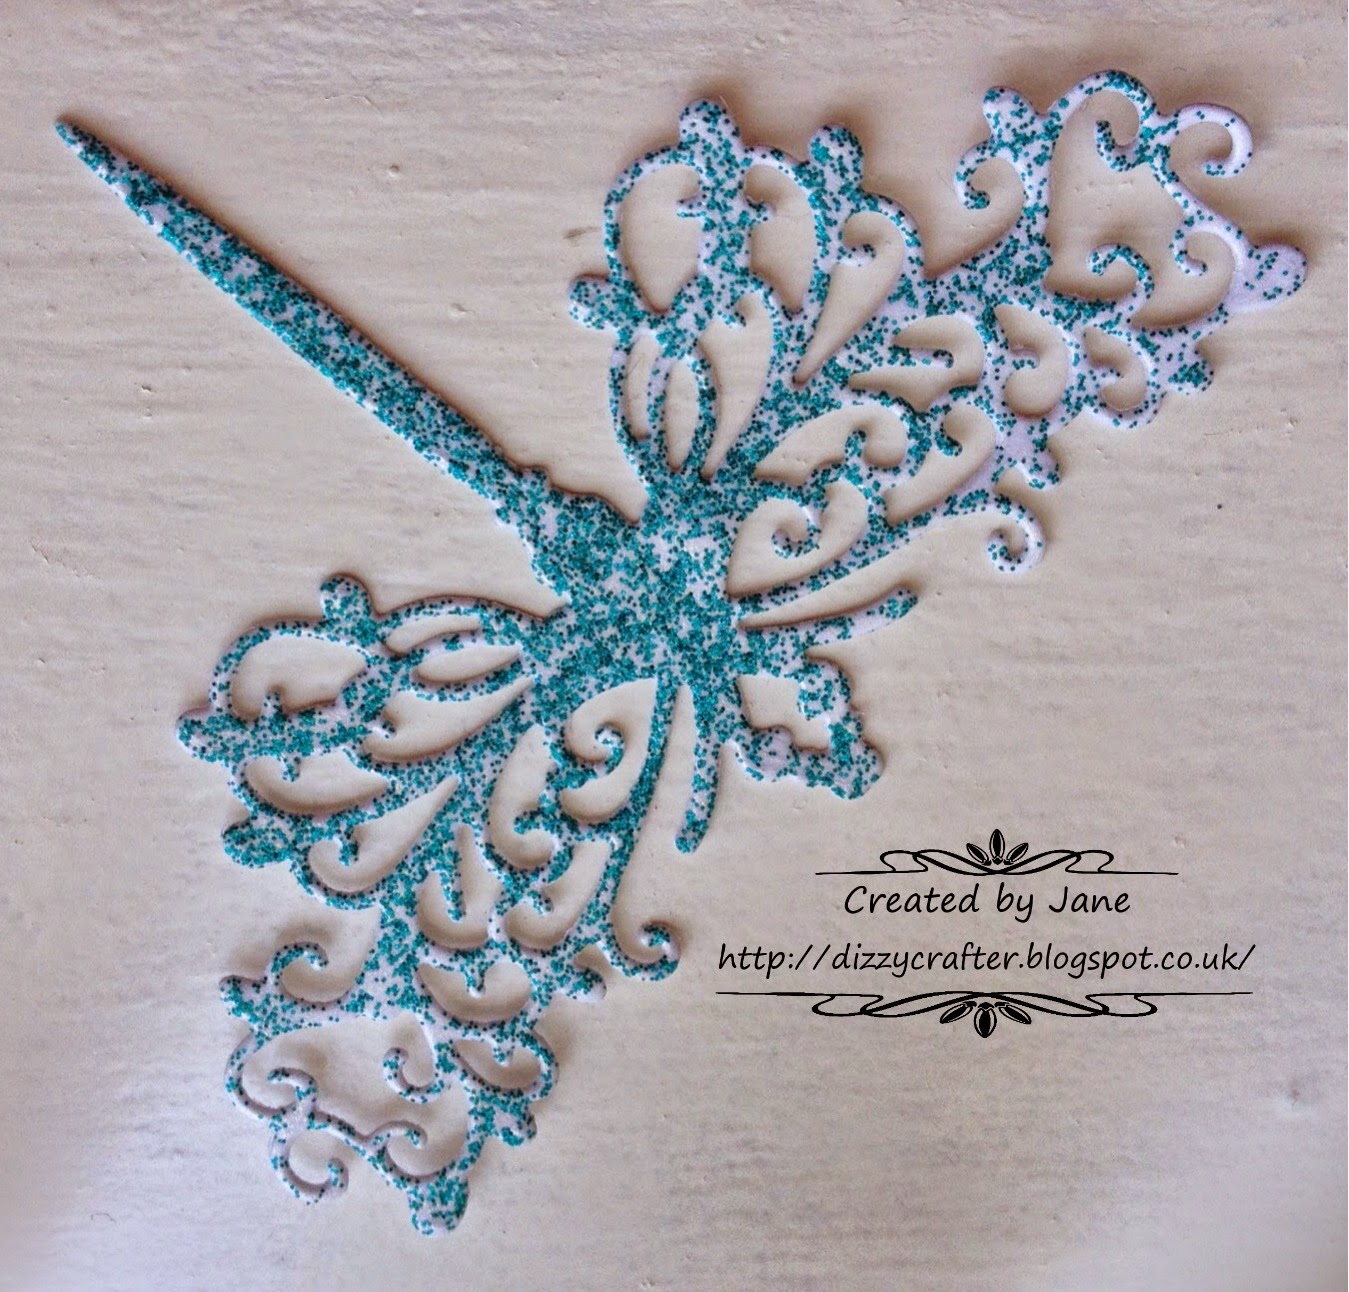
Surprisingly they cut really easily. I used the tonic dragonfly die which is very intricate but it cut with no problems. I can't vouch for other makes of dies though. 


Wednesday, 8 April 2015

Paperartsy Grunge Paste Challenge – Stationary Box


For a long time now I have been a big fan and still am a fan of the Paperartsy blog and many times I have thought I would have a go but didn't feel I was good enough to join in! But this challenge really appealed to me so I ‘bit the bullet’ and I've had a go.
The box was a ‘Gentleman’s stationary box’! it was empty when I acquired it so I can’t tell you what was in it but I image writing paper in a ‘posh’ box! It didn't need any sanding so I could start to work on it straight away (I hate sanding, lol).
• Firstly I embossed some Kraft card and cut it to size and distressed the edges with scissors.
• I decided I would work straight onto the lid so I masked off the area where it would slide in the box.
• I tried the do the technique ‘Creating wood grain with grunge paste’ by Lou Collins but it didn't work! I dried the top of the paste but not enough for the result so n so got but I liked the result so went with it.
• I stamped into the paste and made sure I washed my stamp straight away.
• Once fully dry I stamped on top of the paste.

• I then used my stencils with the paste on the lid and the sides, I didn't mix colour with it but once it was dry  watered down the paints and lightly brushed over the white paste.
• Stamped dragonflies with grey ink on Kraft card.Coloured the wings with Wink of Stella pens. Cut out. Used wire for the antennae and tails.
• Cut flowers and dry brushed with paint.
• Rubbed the gilding wax on all the edges of the box. I did it with my fingers and it made them really sore lol. Also edged the dragonflies and flowers too.
• Painted the clay flower and highlighted with the wax. Stuck it on the lid so that there was something to get hold of when opening the box. 

Im really pleased with the end result and enjoyed using the grunge paste as it is so easy to use. Ive a feeling now that everything is going to get grunged lol.

Materials used-
Paperartsy Grunge Paste
Stamps – Paperartsy Squiggly Ink – Tops and Tails, Tim Holtz – Ultimate Grunge Backgrounds
Stencils – Crafters Workshop – Well rounded, my own design cut on the Silhouette Cameo
Paint – Indigoblu Wimberry Pie, Park Lane, Townhouse Teal
Tonic Studios – Flower Deco Trellis dies
Stazon – Teal, Stone Gray
Pebeo – Silver Guilding Wax
Crafters Companion Textures embossing folder 
From my stash-
writing set box
Kraft card
Air dry clay rose
Wire 

Challenge entered;


Wednesday, 1 April 2015

Ozzie Owl 2


He was made the same way was Ozzie the 1st. But this time using the Tonic Studios-Deco oval trellis base dies